Yiimp pool install ubuntu guide 16.04 server and setup Elicoin
Many were asked to write more detailed instructions on how to install the pool on yiimp
So I wrote — how to install a pool for a fresh ELICOIN coin (by analogy it is possible to raise a pool for any other cryptonometes).
Let’s start. First of all we register ourselves VDS server.
You can rent a server, but for the first time you can use a simple virtual server from sprintbox.
Check in. Just fill out the form — write your mail.
We received a letter with a link to the activation, we will activate it.
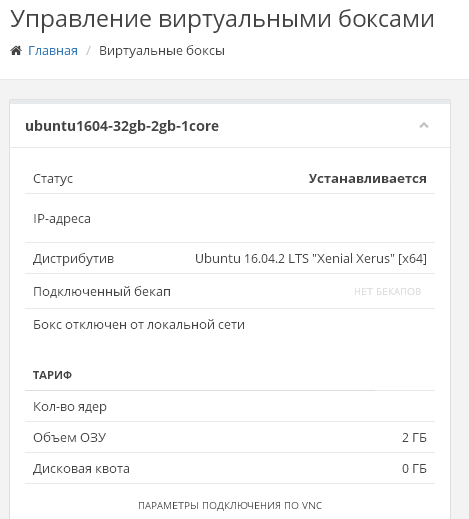
Create a box with a tariff ubuntu1604-32gb-2gb-1core
The mail came with data with an ip address of the box and a password from root, connect to it via the PuTTY program
Immediately after connecting, the system asks you to update the password. We write the old password and 2 times a new one and be sure to remember it.
Installing the MC file manager
We write
|
1 2 |
apt-get update apt-get install mc |
Run it with the MC command
Go to the root folder and press Ctrl + O to execute commands
Download and install the wallet ELICOIN
|
1 2 3 4 5 6 7 8 9 10 11 12 |
sudo apt-get update && sudo apt-get -y upgrade sudo apt-get -y install git build-essential libtool autotools-dev automake pkg-config libssl-dev libevent-dev bsdmainutils libboost-all-dev libqt5gui5 libqt5core5a libqt5dbus5 qttools5-dev qttools5-dev-tools libprotobuf-dev protobuf-compiler libqrencode-dev sudo apt-get -y install software-properties-common sudo add-apt-repository -y ppa:bitcoin/bitcoin sudo apt-get update sudo apt-get -y install libdb4.8-dev libdb4.8++-dev git clone https://github.com/elicoin/elicoin.git cd elicoin ./autogen.sh ./configure make sudo make install |
Let’s start elicoin wallet
|
1 2 |
cd /usr/local/bin elicoind |
On F10 we leave mc and the purse process ends.
Now you need to configure the wallet, go to the /root/.elicoin/ folder and create the elicoin.conf file
Create a file with the command touch elicoin.conf and write there:
|
1 2 3 4 5 6 7 8 9 |
rpcuser=<your choice of username> rpcpassword=<your choice of password> rpcport=9994 rpcthreads=8 rpcallowip=127.0.0.1 maxconnections=12 gen=0 server=1 daemon=1 |
We save the file and start elicoind again and see the inscription «Elicoin server starting», it means everything is OK, the purse is started and the synchronization is in progress.
Next, proceed to install the yiimp pool
Downloading the yiimp installation file
|
1 |
wget https://github.com/xavatar/yiimp_install_scrypt/raw/master/install.sh |
Run the installation script with the command
|
1 |
bash install.sh |
The installation wizard will ask us questions about what and how to install:
We write the time zone — Europe/Amsterdam
Specify — The name of the server or its ip if access is without a domain
Will there be a subdomain — no answer
Point — Mail box for letters
If you use auto-exchange, then indicate BTC wallet
The control panel address (any not standard, so that villains did not pick up passwords, will be site_name / site / panel_name)
Ip address from which access to the control panel will be allowed (see whatismyip.com)
Specify — Do you want to install an auto-link?
Configure the UFW firewall to standard ports — yes or no
Do you want to install a secure SSL certificate for a domain? — yes or no
Next comes the automatic installation…. Waiting…
We resolve the port to connect to 6333 (this is the stratum port for our algorithm)
|
1 |
sudo ufw allow 6333/tcp |
instead of 6333 we write the port on which we will have a stratum
Run the pool files:
|
1 2 3 4 5 6 7 8 |
cd /var/web nohup ./main.sh & nohup ./loop2.sh & nohup ./blocks.sh & cd /usr/local/bin nohup ./elicoind & cd /var/stratum/ nohup ./run.sh yescryptR16 & |
Now we need to create a coin on the yiimp site of the installed pool, for this we go to the admin area
123.123.123.123/site/paneladress (Instead of paneladress, we enter something that was specified during the installation, when we were asked the address of the panel)
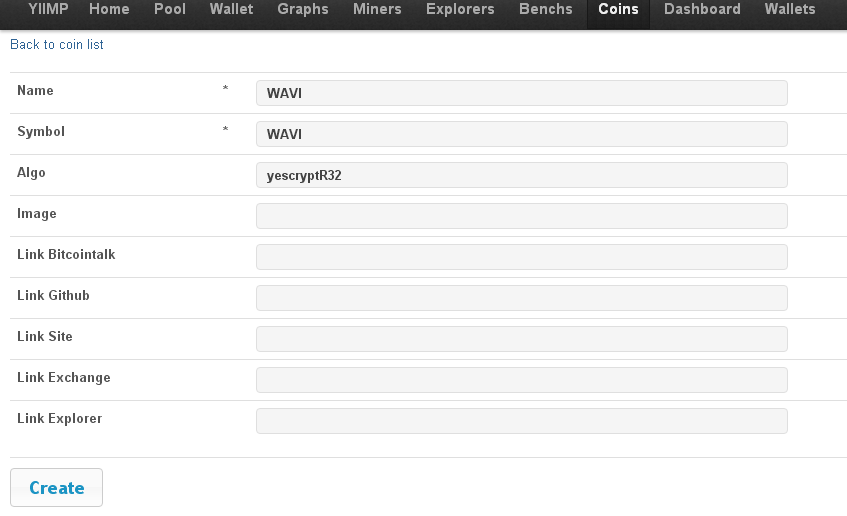
Adding a new coin to the address - 123.123.123.123/coin/create
on images — Instead of WAVI we write ELICOIN
Algo to yescryptR16
RPC PORT - 9994
The coin appeared in the list, open its settings
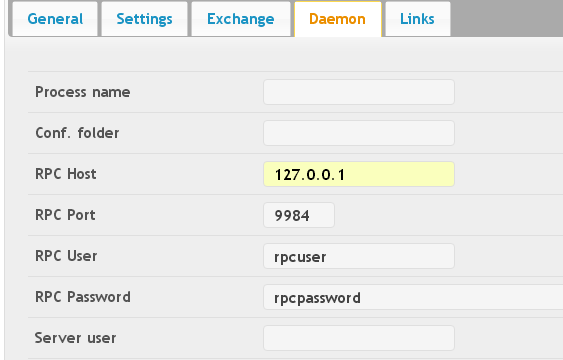
On the Daemon tab we fill in the login, password and port from the wallet (we wrote them to the file elicoin.conf)
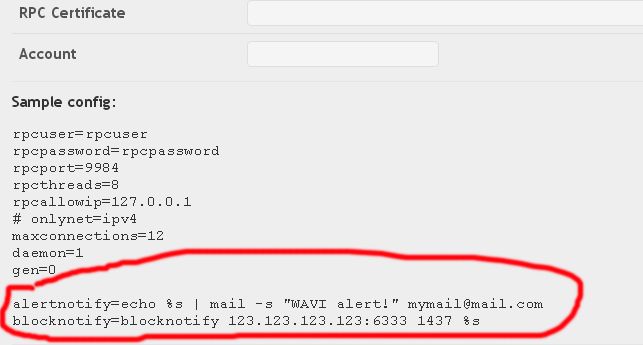
Again, on the Daemon tab at the bottom of the page you can see the lines that you need to add to the wallet configuration (wavi.conf)
In total we made a pool for yiimp for the coin ELICOIN, by analogy it can be done for any other cryptomaniac. Also configure that when the server starts everything is automatically started and in the crown it is restarted every few hours and that the backup copy of the database is sent to the cloud or to the mail, but this is another story.
please donate to Elicoin: EHHooM1nvHj7VTTwRWTMzvFrmALdjMyN8r


hello buba,
how to make stratum starting diff 0.01 works?
thanks
Yiimp does not support DIFF less than 1 by algorithm yescryptr16